Nakon što se ulogujete u vaš FastPanel imaćete opciju da dodate sajt kao na slici ispod:
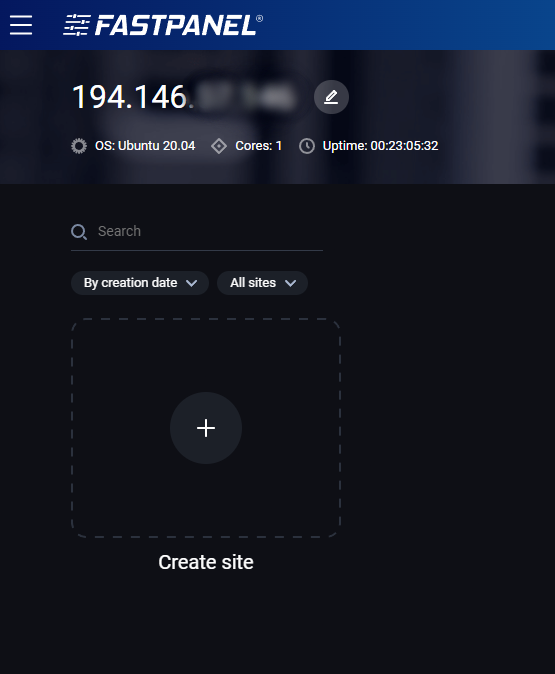
Kliknite na plus ispod kog piše Create site i potom ćete imati dve opcije za kreiranje sajta - WordPress sajt ili custom sajt. U ovom tekstu ćemo proći kreiranje WordPress sajta.
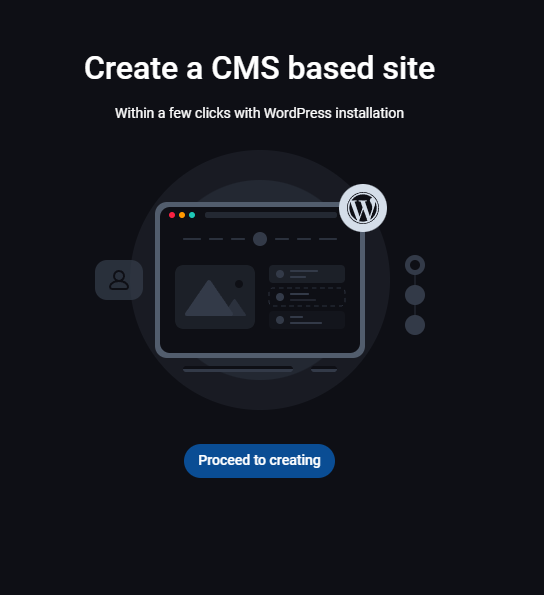
Kliknite na dugme Proceed to creating ispod opcije Create a CMS based site.
Sada će se otvoriti prozor gde je potrebno da unesete domen na kojem će biti vaš sajt, kao i par dodatnih opcija.
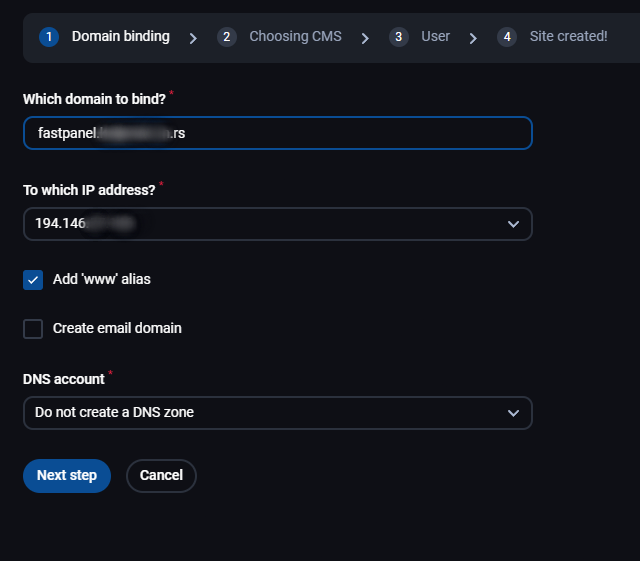
Opcija Add 'www' alias služi sa kreiranje postavki i za www verziju domena. Ispod imate i opciju Create email domain ukoliko želite da na tom domenu koristite i mailove.
DNS account opciju ostavite na podrazumevanom Do not create a DNS zone kako već imate DNS zonu u vašem portalu.
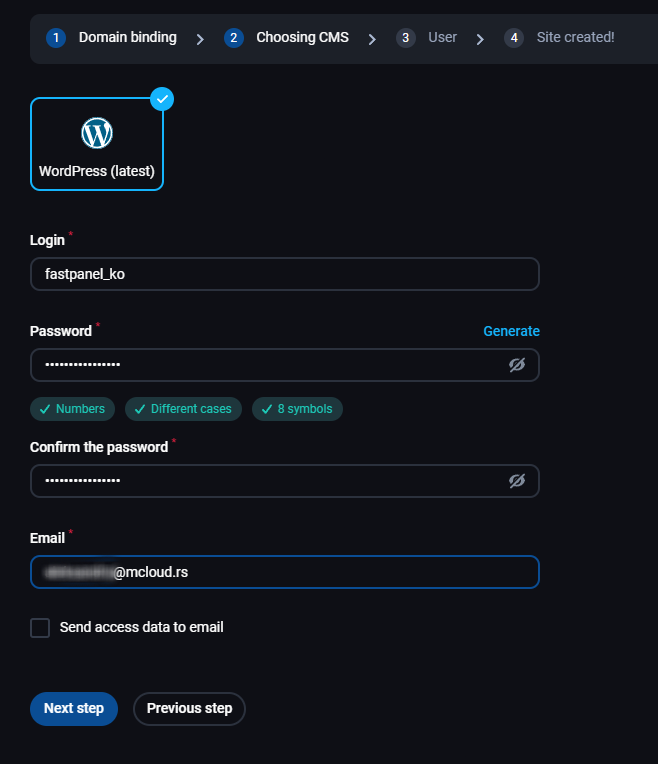
Na sledećem koraku kreiramo WordPress admina, unosite korisničko ime i lozinku koju želite, kao i email adresu koja će biti povezana sa njim. Ispod imate opciju da se pristupni parametri pošalju na vašu email adresu po instalaciji WordPress-a.
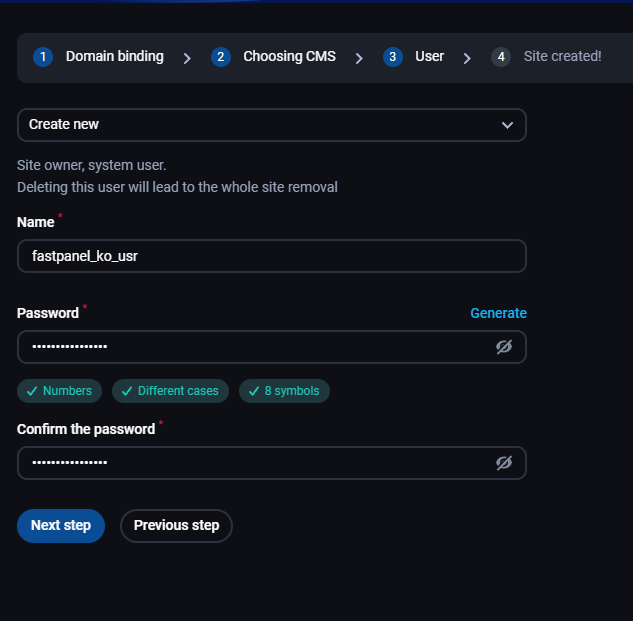
Sledeći korak se odnosi na kreiranje sistemskog korisnika za taj sajt. Imate opciju da izaberete već postojećeg (fastuser) ili da kreirate novog. Za kreiranje novog korisnika unosite njegov naziv i lozinku.
Nakon ovog koraka, sajt je kreiran i dobićete sledeću poruku:
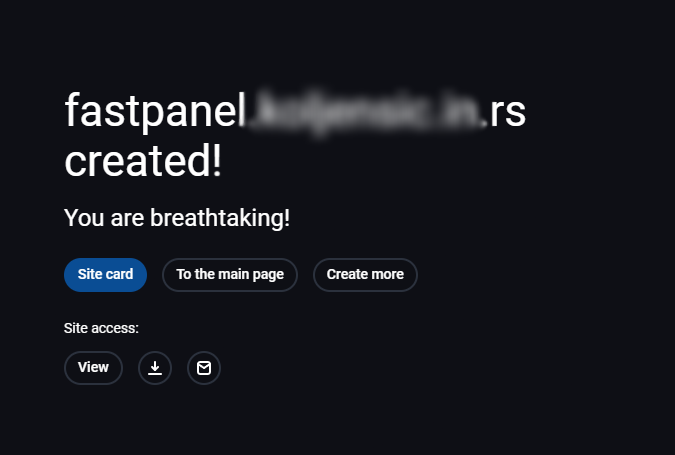
Sada imate opciju da pogledate karticu sajta, vratite se na početnu stranicu u panelu ili da kreirate još sajtova. Kartica sajta sadrži sve podatke vezane za vaš sajt i ona izgleda ovako:

Ovde možete videti informacije poput sistemskog korisnika, gde se nalazi root folder za taj sajt, koji php mode i verzija se koriste kao i veličinu sajta i baze.
Ispod imate odeljak Site managing:
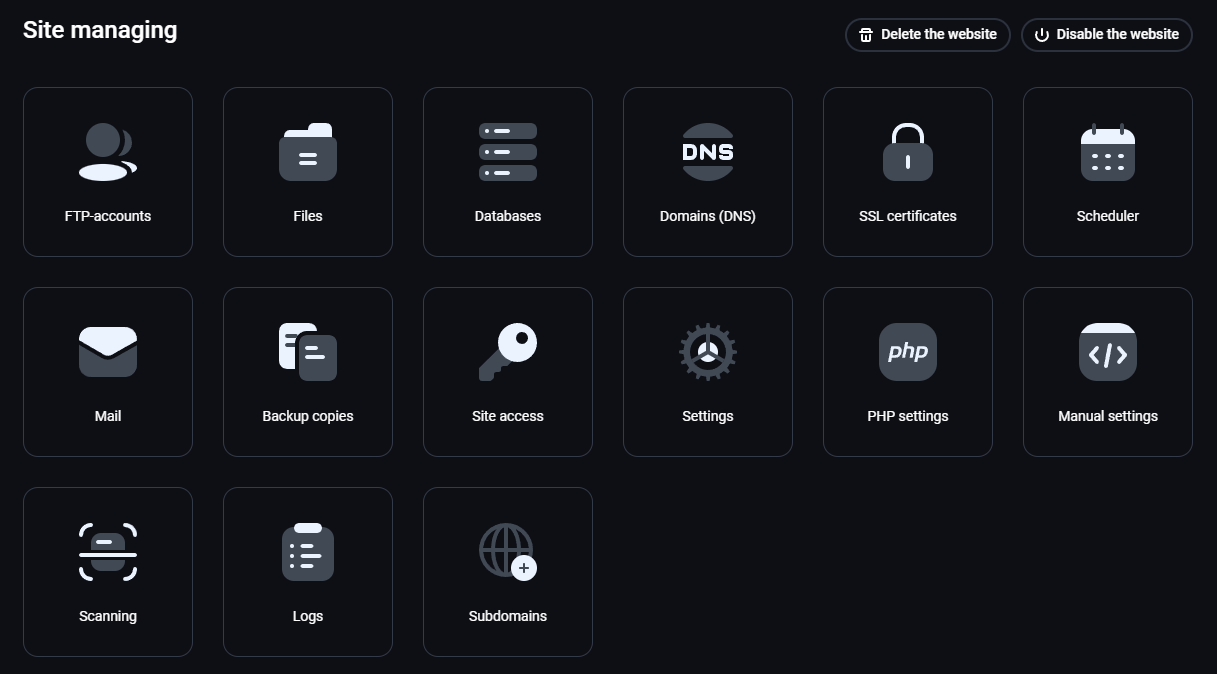
Ove opcije su detaljno opisane u drugim člancima u bazi znanja.