Nakon što se ulogujete u vaš FastPanel, u Site Card-u željenog sajta pronađite opciju Backup copies:

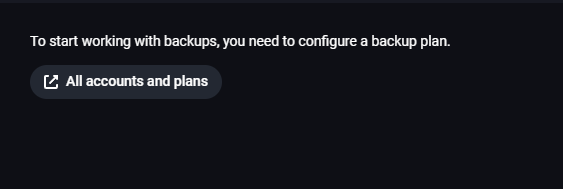
Ukoliko nemate prethodno podešene naloge i planove za backupe dobićete poruku da je prvo potrebno da podesite backup plan i ispod ćete imati dugme koje će vas prebaciti na potrebnu stranicu:
Nakon što kliknete na All accounts and plans biće vam prikazana sledeća stranica:
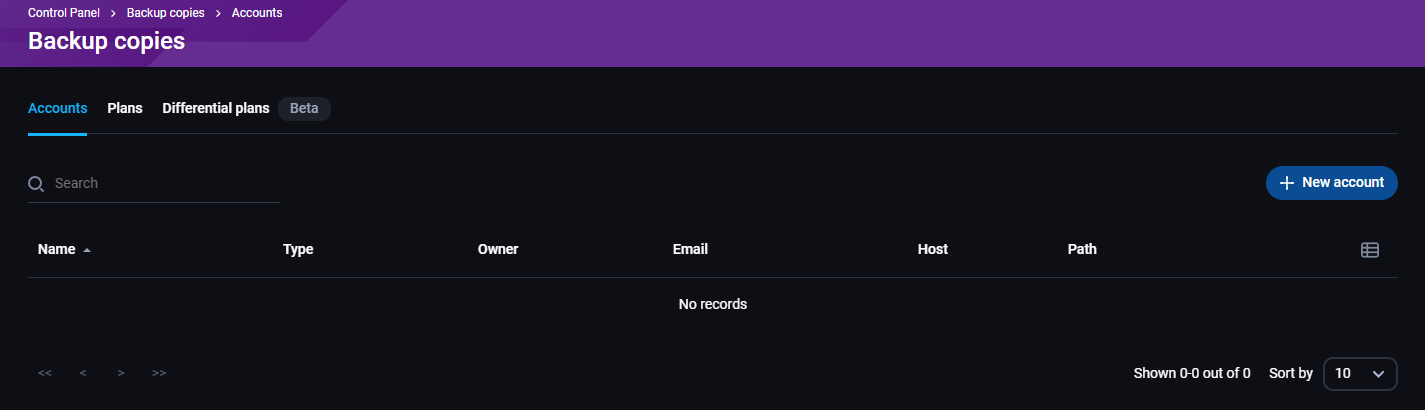
Imate tri prikazana odeljka:
- Accounts - ovde podešavate naloge za koje će se kreirati backupi
- Plans - ovde podešavate kada će se kreirati potpuni (full) backupi
- Differential plans - ovde podešavate kada će se kreirati backupi koji umesto delog novog backup-a čuvaju samo promene u fajlovima/bazama
Odeljak Accounts
U desnom gornjem uglu postoji dugme +New Account. Ovo dugme otvara stranicu za kreiranje naloga za backup-e:
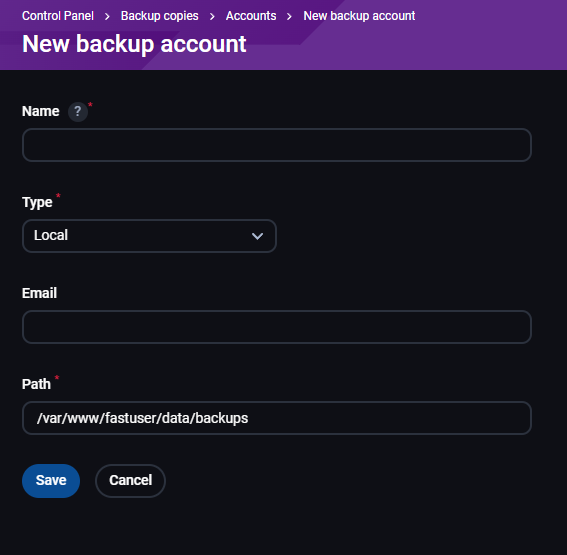
Potrebno je popuniti sledeća polja:
- Name - naziv backup-a
- Type - ostavljamo local
- Email - mail adresa na koju će stizati obaveštenja
- Path - putanja gde će se čuvati backup-i
Polje Type je padajući meni i njemu postoje dodatni tipovi backup-a:
- SCP
- FTP
- Local
- Dropbox
- Fastbackup
U zavisnosti od tipa backup-a potrebno je uneti različite podatke pa ćemo proći i ostale opcije:
SCP
Ova opcija je za konektovanje na drugi server putem SCP-a kako bi se backup tamo skladištio.

Podaci koje je potrebno uneti:
- Name - naziv backup naloga
- Type - odabrati SCP
- User - korisnik na drugom serveru
- Password - lozinka korisnika na drugom serveru
- Email - mail adresa na koju će stizati obaveštenja
- Host - hostname ili IP adresa drugog servera
- Path - putanja na drugom serveru gde će se čuvati backup-i
- Port - automatski podešeno 22, menjati samo ako je na drugom serveru podešen neki drugi port za SSH konekciju
FTP
Ova opcija je za konektovanje na drugi server putem FTP-a kako bi se backup tamo skladištio.
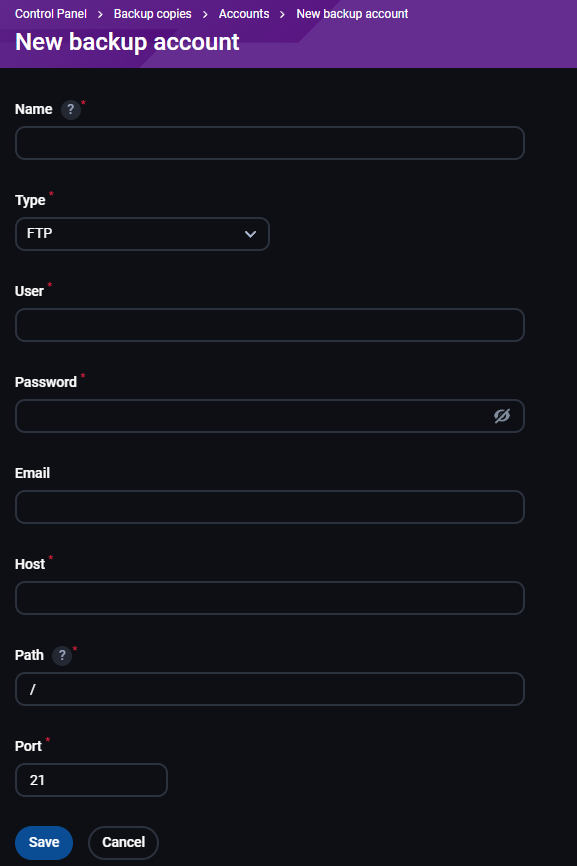
Podaci koje je potrebno uneti su isti kao za SCP, samo što je port stavljen 21. Port menjati samo ako je na drugom serveru podešen neki drugi port za FTP konekcije.
Ova opcija je za povezivanje sa Google Drive-om kako bi se backup tamo skladištio.
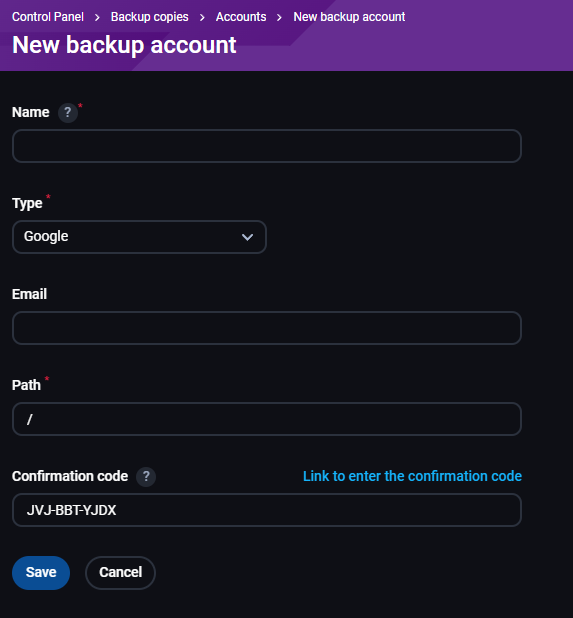
Podaci koje je potrebno uneti:
- Name - naziv backup naloga
- Type - odabrati Google
- Email - mail adresa na koju će stizati obaveštenja
- Path - putanja gde će se backup čuvati
- Confirmation code - ovde je kod za povezivanje koji unosite klikom na plavi link iznad pod nazivom "Link to enter the confirmation code", nakon unosa koda je potrebno da se ulogujete u Gmail nalog čiji Drive želite da koristite
Dropbox
Ova opcija je za povezivanje sa Dropbox-om kako bi se backup tamo skladištio.
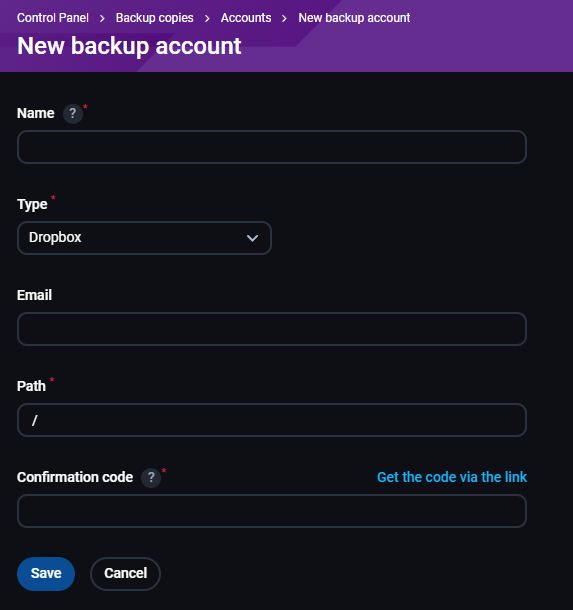
Podaci koje je potrebno uneti su isti kao za Google, samo što ovde ne dobijate kod nego je potrebno da unesete kod koji dobijete klikom na "Get the code via the link" nakon što se ulogujete u svoj Dropbox nalog
Fastbackup
Ovo je plaćena opcija za povezivanje sa FastPanel-ovim skladištem kako bi se backup tamo skladištio.
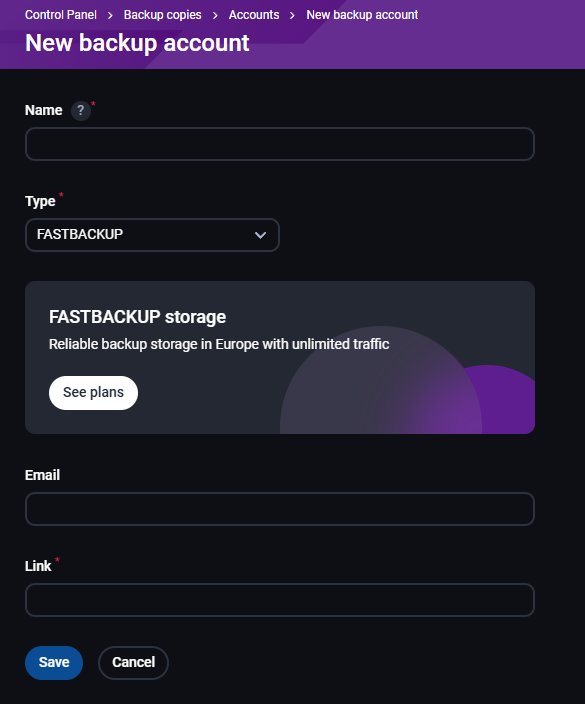
Podaci koje je potrebno uneti:
- Name - naziv backup naloga
- Type - odabrati FASTBACKUP
- Email - mail adresa na koju će stizati obaveštenja
- Link - nakon što zakupite prostor kod FastPanel-a ovde unosite link za pristup
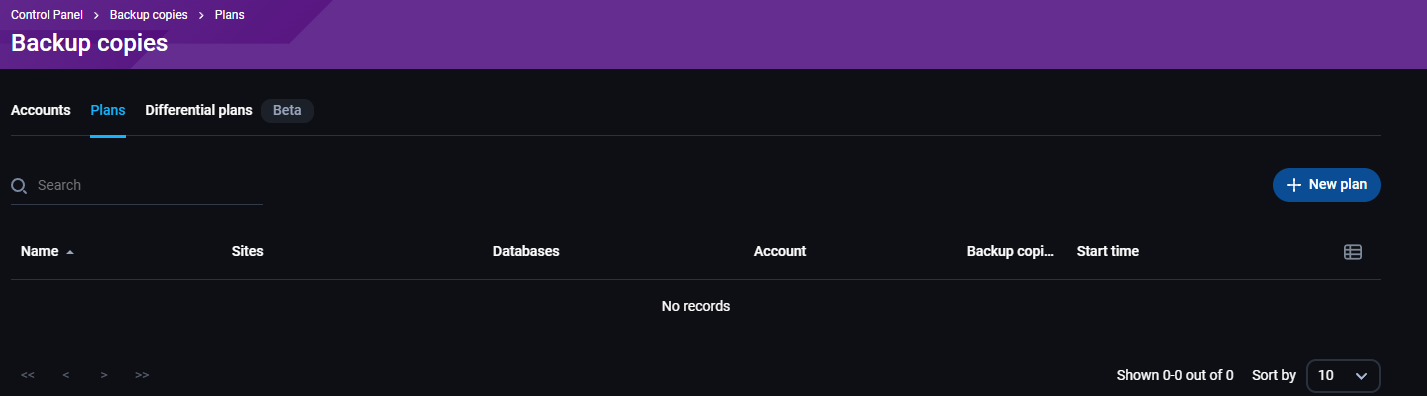
Plans
U ovom odeljku sa desne gornje strane imate dugme +New plan koje služi za kreiranje novog plana izrade backup-a:
Nakon što kliknete na to dugme pojaviće se sledeća polja koja je potrebno popuniti:
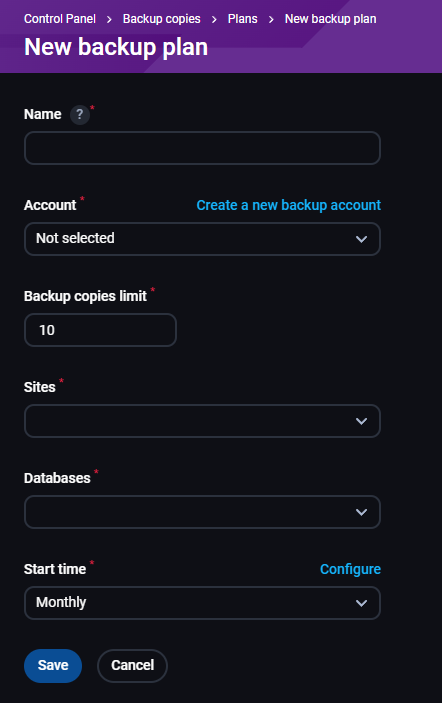
- Name - naziv backup plana
- Account - iz padajućeg menija odaberete neki od kreiranih backup naloga
- Backup copies limit - unosite koliko kopija backup-a će se čuvati odjednom (obratite pažnju koliko prostora na serveru imate)
- Sites - iz padajućeg menija možete odabrati da li želite da se pravi backup svih sajtova ili samo nekih
- Databases - iz padajućeg menija možete odabrati da li želite da se pravi backup svih baza ili samo nekih
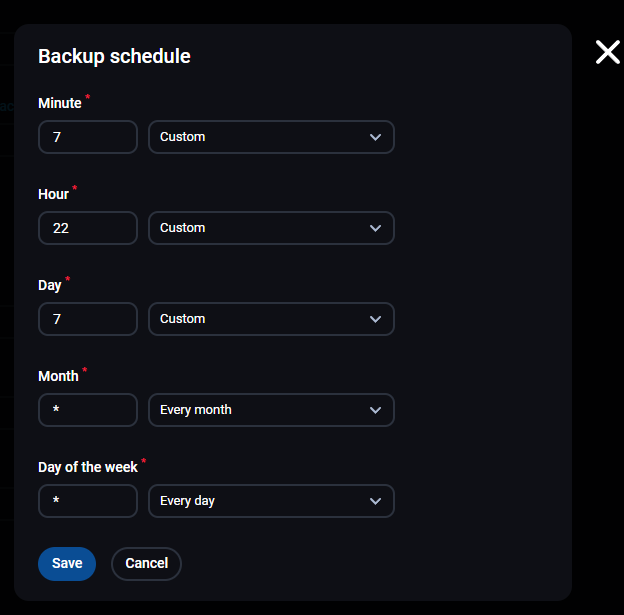
- Start time - birate koliko često želite da se kreiraju backupi iz padajućeg menija ili klikom na dugme Configure da kreirate opciju koja nije ponuđena:
- Annualy - jednom godišnje
- Monthly - jednom mesečno
- Weekly - jednom nedeljno
- Daily - jednom dnevno
- Custom - otvara isti pop-up prozor kao i Configure:
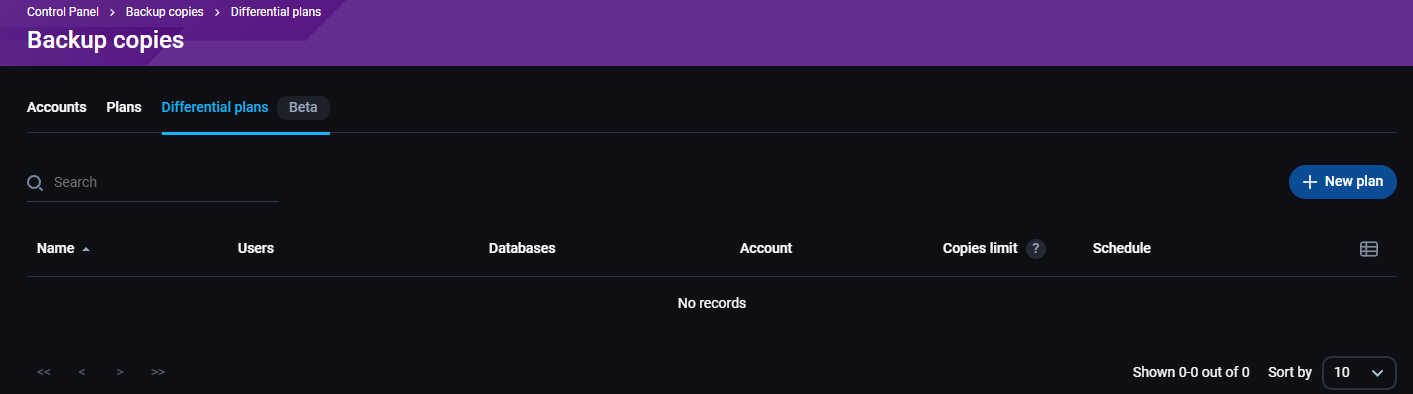
Differential plans
U ovom odeljku sa desne gornje strane imate dugme +New plan koje služi za kreiranje novog plana izrade diferencijalnih backup-a:
Nakon što kliknete na to dugme videćete da postoje dva odeljka:
- Single user - podešavanje backup-a za samo jednog FP korisnika (vlasnika/ownera sajtova)
- All users - podešavanje backup-a za sve FP korisnike
Single user
Sledeća polja je potrebno popuniti:
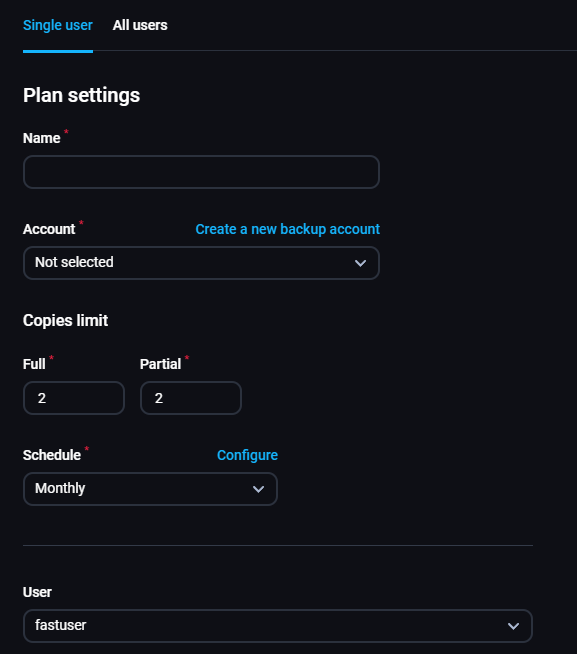
- Name - naziv backup plana
- Account - iz padajućeg menija odaberete neki od kreiranih backup naloga
- Copies limit - unosite koliko kopija backup-a će se čuvati odjednom (obratite pažnju koliko prostora na serveru imate)
- Full - odnosi se na potpune backup-e
- Partial - odnosi se na diferencijalne backup-e (svaki novi backup čuva samo izmene napravljene u odnosu na prethodni)
- Schedule - isto kao Start time iz prethodne sekcije
- User - iz padajućeg menija birate za kog FP korisnika želite da se kreiraju backup-i
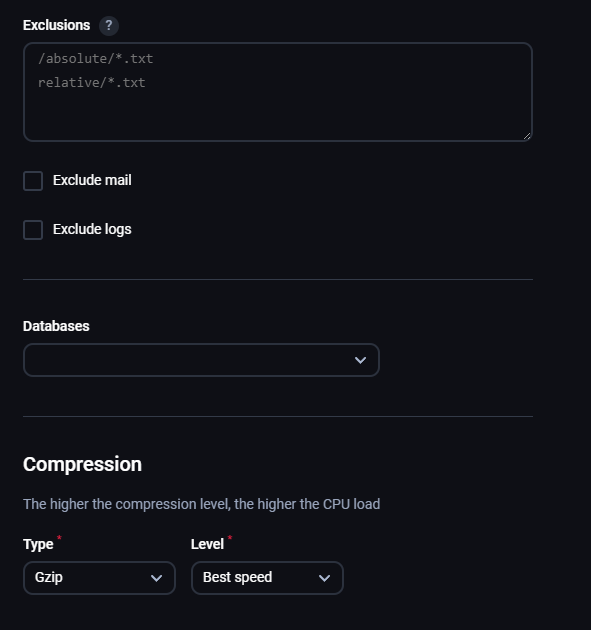
- Exclusions - unosite putanju do fajlova koji ne želite da se backup-uju
- Exclude mail - obeležite ukoliko ne želite da se mailovi backup-uju
- Exclude logs - obeležite ukoliko ne želite da se logovi backup-uju
- Databases - iz padajućeg menija možete odabrati da li želite da se pravi backup svih baza ili samo nekih
- Compression - određujete kakve backupe želite da kreirate:
- Type - birate između Gzip i ZSTD tipa kompresije
- Level - birate između bržeg kreiranja backup-a ili bolje kompresije
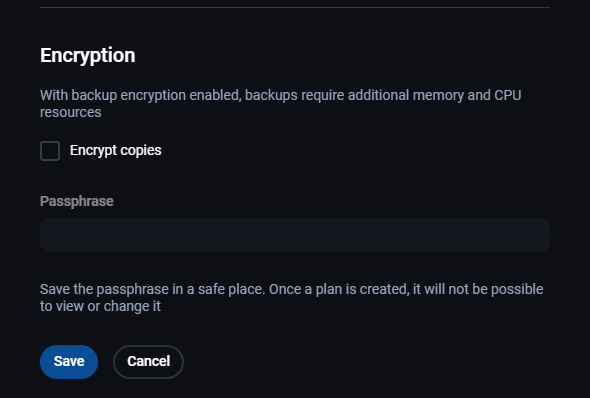
Poslednja stavka je da li želite da backup-i budu enkriptovani. Ukoliko obeležite ovo polje potrebno je da unesete passphrase.
Napomena: Bitno je da passphrase sačuvate negde sigurno jer nakon kreiranja plana nećete moći da ga vidite ili izmenite.
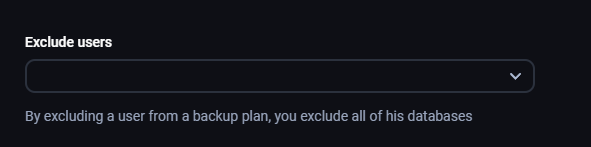
All users
Popunjavate ista polja kao i za Single user, razlika je u tome što umesto da birate za kog FP korisnika se kreiraju backup-i, ovde po želji možete da odaberete za koje korisnike da se NE kreira backup.